
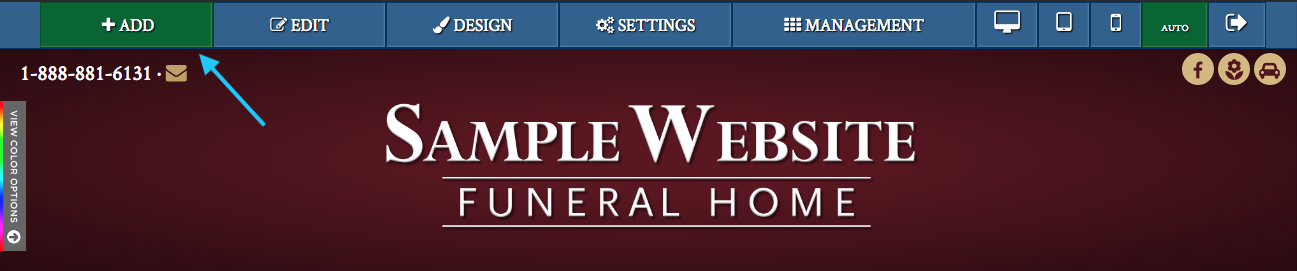

Basic Information

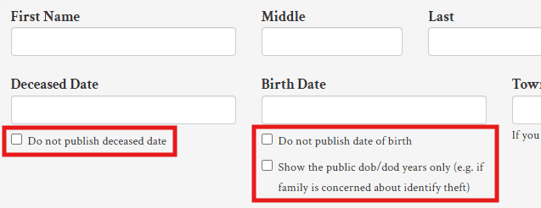
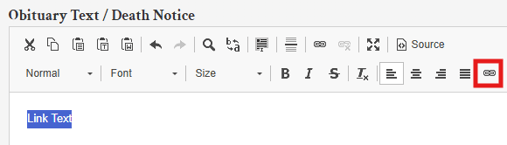
Obituary Text


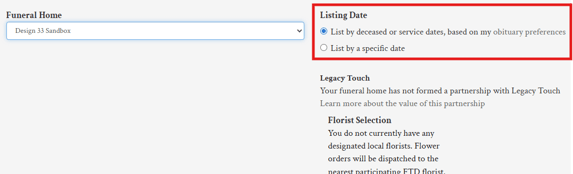
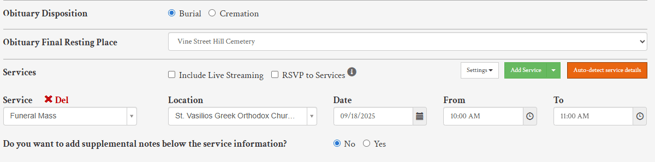
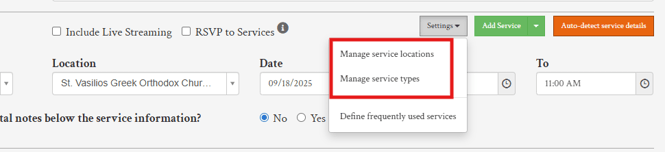
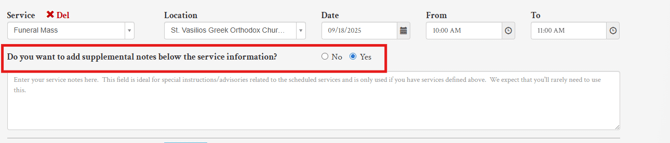
Adding Services

Family Logon and Guestbook Settings
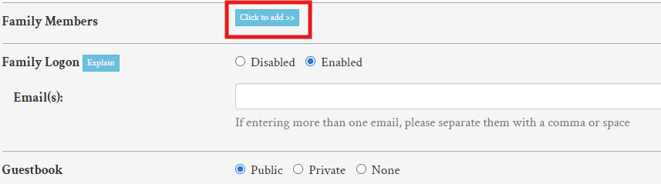
Family Logon
When enabled, your website will automatically create and send logon information to family members, using the email address(es) provided to you by the family. Once an email is added and the obituary is saved, the user will receive an email containing a password they can use to login to the family logon section of the page.

Each family logon is restricted to this obituary only and gives a family member the following privileges:
- Ability to post condolences, photos and candles directly to the website with no approval required.
- Ability to directly approve or reject condolences, photos and candles submitted by others.
- Ability to edit or delete condolences, candles or photos (all deletions can be recovered by CFS, if accidentally performed).
- Ability to send logons to other family members by entering their email address(es).
- Ability to view submissions to a private guestbook (if used).
- Ability to view the email address of the condolence author and reply directly to them (if supplied by the poster).
Guestbook
The guestbook settings allows you to customize the guestbook functionality. When set to public, the guestbook will be fully available for visitors to post to and all visitors to the page can see the posts. When set to private, visitors can post to the guestbook but the posts can only be viewed by family members using the family logon. When set to none, the guestbook will be entirely disabled from the page.

Fundraising and Charity Donations
Funeral Care Fund
Crowdfunding style campaigns can be run via this setting, allowing family, friends and members of the public to make donations to cover funeral expenses and/or support those left behind.
Once you click "Run a fundraising campaign", you will be presented with some options and settings for configuring the campaign. A target amount can be set for the campaign and a reason for the fundraising can be set. Options are available to close the campaign when the target is met or to manually stop accepting donations on the campaign. Standard intro text is available to add to the campaign but a custom message can be added by clicking "Use tailored message".

- Online donations will be accepted from directly within the obituary page.
- Proceeds from donations will be remitted to the funeral home via ACH payment. You decide when to transfer funds via your website's management section.
- Fund-raising campaigns can be set with a specific target amount or open-ended.
- Fundraising can be used to cover funeral expenses, support the family (or both).
- You can close the campaign when the target is reached. If closed, further donations will not be solicited.
- A real-time report of all donations is available in the management section of your website.
- It is free for people to donate. CFS retains 5% of the donated amount to offset costs (versus 7.9% + 30 cents per donation for GoFundMe and 6.9% + 30 cents per donation for Frazer).
Charitable Contributions
Under the charitable contributions section, charities can be added to the obituary page for visitors to make donations to. To add a charity, click the "Add Charitable Contribution Listing" button and from the suggest charity dropdown, select the charity you want to add to the page.

Charities in the charity list can be edited/removed or new charities can be added to the list via the manage charities button.

Once the available charities window pops up, you will see the list of charities where you can edit or delete entries. New charities can be added by clicking the "Add New Charity" button.

Tribute Videos and Other Media
Videos
Tribute Videos can be created via the Tribute Video Engine section. Simply click the "Launch Video Engine" button to be taken to the Tribute Video platform to create a video.

Externally created memorial videos can also be added via the manage button under the Tribute Video area.

After clicking manage, the external video window will pop up which presents an option to link the video via an external URL or to upload the video file directly to the website.

Audio Recordings and Service Programs
Options are available as well to add an audio recording of the service or a pdf file of the program.

Music and Images
Background music and background images can be added to an obituary page by clicking the pencil icon beside the corresponding sections.

A list of stock music and images will be listed out to select from, but an option to add a custom image or music is also available via the green "Add New Music Track" or "Add New Background Image" buttons in the pop up window.
**It is important to note that due to recent changes with modern web browsers, music will not automatically play on a page unless the user clicks on the page first.
Photographs or stock photos can be added as the main obituary image via the pencil icon beside the corresponding areas.

When uploading photos, a single photo can be uploaded to use as the main photo or multiple photos can be uploaded to be displayed in rotation as the main photo.
A stock photo can be selected via the stock photo section if no photo of the deceased is available. There is a variety of different stock photos available to choose from.

An option is available to view a list of the available stock content. This can make it easier to allow families to browse options to choose which music or photo they want to use.

Notifications
Under the notification options, you can select if you want the obituary update to be sent to obituary notification subscribers or to not be sent out as a notification.

Obituary Theme
The obituary theme image can easily be changed by clicking on the banner image under obituary theme.

A variety of stock options are available to choose from and custom images can be uploaded via the green "Add New Obituary Theme" button.

Social Sharing Links
At the bottom of the page, an option is also available to disable social sharing links on the obituary page if needed.
