
The Forms section is where you will be able to access information about all of the Forms in your system. Depending on what type of system you have, you may have many forms, or you may have few. Most websites will have a Pre-Arrange Online form at the very least.

Any forms in your system will be listed out in the form list. For any form, submissions can be viewed and notifications can be set up.
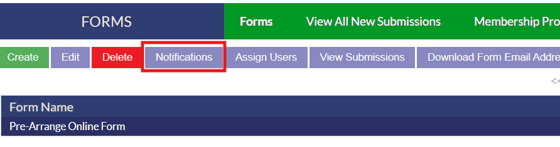
Form Notifications
To set up notifications for a form, highlight the form from the list and click the notifications button.
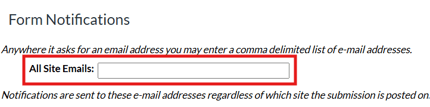
You will be brought to the notifications screen. From here, you can either place the e-mail address in the "All Site E-mails" field, where it will receive notifications regardless of which site it’s placed on.
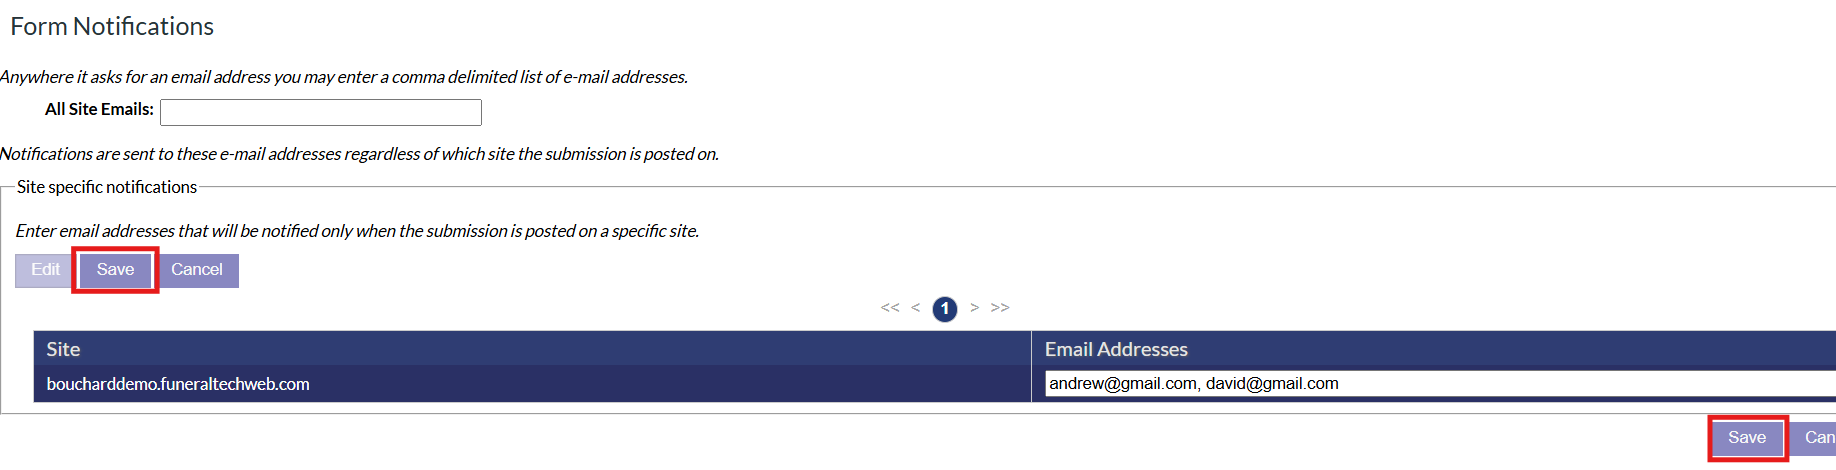
Alternatively, you can set up notifications on a per-site basis by clicking the specific site name in the section below, and then editing the email address field. All forms can have multiple e-mails attached if they have commas delineating them. For example, if I was to enter two emails I would format it as: andrew@gmail.com, david@gmail.com.

Once you have made your changes to the notification emails, ensure you hit the save button to save your changes.
Viewing Form Submissions
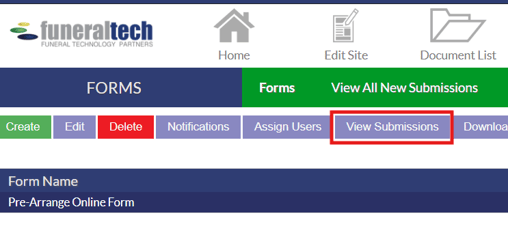
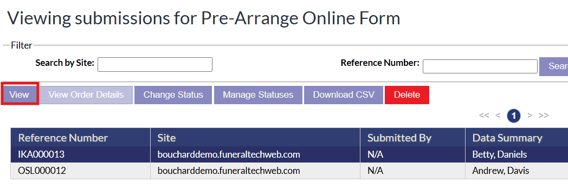
There are two ways to check form submissions in the system. First, you can click on the form name and then click the view submissions button to view submissions for that specific form.
The form submission page will list out any submissions you have for that form. Each submission will have a reference number, show the site that it came from, name, date and type information. To open a submission to view the information in it, highlight the submission and click the view button.
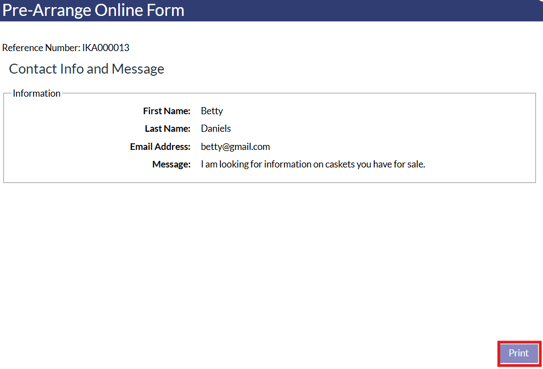
When viewing a submission, the submitted information will be displayed in a pop up window with an option to print the submission.
If you need to delete a submission, highlight the submission and click the red delete button.

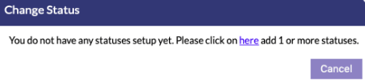
If you wish to change the status of a form, click on the "Change Status" button. If this is your first time doing so, you will be greeted with a window instructing you to set up a status.
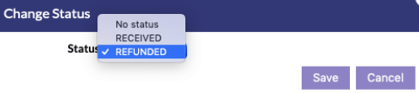
Clicking the link in the change status pop up window brings you to a screen where you can create, edit, delete, enable, and disable statuses. It is useful to have a few statuses available to meet your needs, such as Received, Processed, and Refunded. More statuses can be added at any time. Once you’ve added statuses, you can select them from the same menu to apply to a submission.
If you want to view all submissions for all forms in the system, click the "View All New Submissions" button in the green menu bar of the forms page. This will show every submission from every form in one place.

There are two buttons available on the Forms page for e-mail downloads.

- Download Form Email Addresses: Downloads all e-mails attached to a specific form. You must click on the form before clicking on this button.
- Download All Email Addresses: Downloads all e-mails submitted to all forms.