
The Location Library page can be accessed from the Location Library tab of the sub menu under the Obituaries menu option of the Admin Dashboard.
Serving Locations
Serving locations are the funeral home locations that obituaries are assigned to. In the Serving Locations section, you will see all funeral home locations listed out. Type of location and name of location will be displayed, along with an actions column that lets you edit or delete the location. New serving locations can be added by clicking the Add New Location button at the top of the section.

Deleting a Location
To delete a Serving Location, you can click the delete button beside that location in the Serving Locations section. It is important to note, that you will be asked to "replace" the location with a different Serving Location. The reason for this is so that any obituaries that were previously associated to that location now have a new serving location to be associated to. Obituaries must have an associated serving location in the system.
Area Group
Area Groups can be added by clicking the Add Area Group button at the top of the Serving Locations section. You will be asked to enter a name for the Area Group, enter a name and click save. Area Groups allow you to group together certain locations that serve a specific area. Once areas are grouped together, specific Obituary Listing pages can be shown in the website drop down menu to navigate to listing pages containing only those Area Groups.
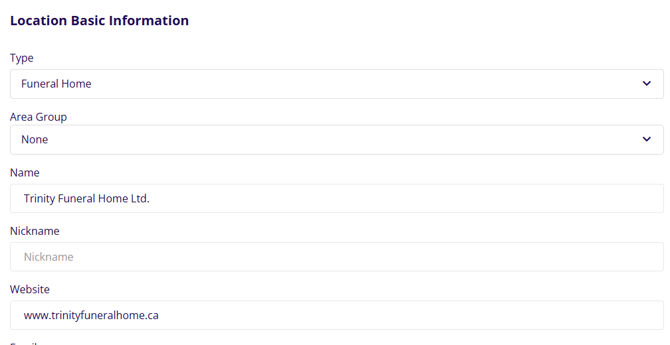
Editing a Service Location
When you click edit on a serving location, you will be taken to a new page with all the information for that location. In the Location Basic Information section, all the basic information will be listed for the location’s name, classification, contact info etc. Location type can be set to classify what kind of location it is and an Area Group can also be set to group the location into a specific grouping of locations.
The Show On Footer section has checkboxes for various items that you can display on the footer of your website. Any combination of these pieces of information can be selected or you can have none selected if you wish to keep all that information for the location off of the footer of the website.

Location Address
The Location Address section is where you can update the address information for your location. If there is a need to add specific coordinates to help Google Maps pinpoint your location correctly, the Latitude and Longitude areas can be filled out with coordinates to pinpoint an exact position for the location in Google Maps. An embedded map view from Google Maps displays here as well to show where the coordinates are pointing to.

ASD Settings
The ASD Settings section is where you can add account information to connect an ASD account. Once account information is added, the ASD integration will be active and will automatically send service information to ASD for this location. The PartnerID is automatically generated for the website, all that needs to be entered to get the integration working is the Mailbox Number and the Password.

Social Networking Settings
Each location is able to be connected to a Facebook or Twitter (X) account. In order to connect, just click the connect button for the corresponding platform and follow the login prompts to sign in and select your business page.
 Once you have connected your account, you will see a couple of new checkbox options.
Share Obituaries Automatically
-
This setting will enable the auto sharing feature. Any obituary posted under this location will automatically post to the linked account upon publishing the obit.
Use For All Locations
-
This setting will apply this same connected account to all Serving Locations. If you have one business page that is used for all locations, then check this option. If you have different business pages for different locations then leave this option unchecked.
 Always make sure to click Save Location at the bottom of the page to save any changes that are made.
 Location Library
The Location Library section at the bottom of the Location Library page is where all of the locations are stored that are not serving locations. This is where you can access any churches, cemeteries, charities or other businesses you have entered in order to edit information.

You can add new locations by clicking the Add New Location button at the top of the section, there is also an option to Bulk Delete entries or Check for Duplicates if you need to clean up the entries in the system.
Locations can be searched for in the search bar or browsed via the pages that list the locations. Location Type and Name will be displayed along with an actions column that gives the option to Edit or Delete the location.
Editing a Location
Editing a location works the same as editing a service location, the main difference being that there is no option for connecting social media accounts to regular locations.
In the Location Basic Information section, all the basic information will be listed here for the location’s name, type, contact info etc. Location type can be set to classify what kind of location it is, no area group can be added on regular locations.

The Show On Footer section has checkboxes for various items that you can display on the footer of your website. Any combination of these pieces of information can be selected or you can have none selected if you wish to keep all that information for the location off of the footer of the website.
 Location Address
The Location Address section is where you can update the address information for your location. If there is a need to add specific coordinates to help Google Maps pinpoint your location correctly, the Latitude and Longitude areas can be filled out with coordinates to pinpoint an exact position for the location in Google Maps. An embedded map view from Google Maps displays here as well to show where the coordinates are pointing to.
 ASD Settings
The ASD Settings section is where you can add account information to connect an ASD account. Once account information is added, the ASD integration will be active and will automatically send service information to ASD for this location. The PartnerID is automatically generated for the website, all that needs to be entered to get the integration working is the Mailbox Number and the Password.