
The Setup page can be accessed from the submenu tabs under the Website Manager menu option on the Admin Dashboard.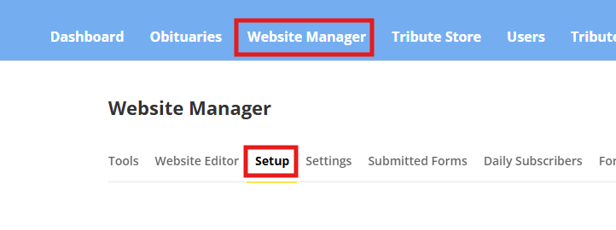
In the setup tab, pages are nested under each menu category as they would appear on the website navigation menu. This gives a visual representation of the menu options and the page hierarchy on the website.
**Obituary pages are not listed in the setup section, only non-obituary pages will show in the setup section.

Website Setup
Pages with a blue checkbox are enabled to display in the website navigation menu and pages with no check are hidden from the navigation menu of the website. The hierarchy works by showing the top level menu category in the farthest left and then any pages nested under that in the menu drop down will show indented underneath that category.
The Short Link feature allows for you to add an alternate link to a page based on what you enter. To add a short link, click the paper clip icon beside the words short link. The customized link structure will directly follow the .com part of your website instead of following the category hierarchy of the menu.
For example, if our website tributetech.com was to be used as the example domain name, the default Our Staff page link based on the structure in the screenshot above would be:
tributetech.com/about/our-staff
If I added a short link to this page called “staff”, the short link that would now go to the same page would be:
tributetech.com/staff
Both the original link the new short link will go to the same page. The short link does not override the old page URL, it simply adds a new shorter URL that redirects to that page.
Redirects
The Redirects section is accessible by clicking the Redirects link on the left side of the Setup page. This section will allow you to add redirects on URLS.

Once on the Redirects page, you will have a few options available for adding an editing redirects. Active redirects will be listed at the bottom of the page showing the “From“ URL, which is the URL that lives on the site and is being redirected, and the “To“ URL which is the URL that the from URL is being redirected to.

To add Redirects you can click the Add Redirect button or you also have the option to import a list of redirects from a CSV file via the Import Redirects from CSV button. The Remove All Redirects button will remove all redirects that are currently added to the website.
Adding or editing redirects only involves two values, you simply need to know the URL you want to redirect to add in the From section and the URL you want it to go to which you would ad din the To section. Make sure to click Save Changes to save the redirect once you are done.

Redirect Configuration Guidelines
When setting up link redirects, it's important to be familiar with the common rules, especially when dealing with multiple hostnames for a website. If you intend to set a redirect for a specific domain, you should use an absolute path in the 'From' field, specifying the URL for the defined domain.
Please note the following:
-
'From' field input options:
-
Absolute path: For example, https://test.secure.tributecenteronline.com/test or http://test.secure.tributecenteronline.com/test.
-
Relative path: For example, /test or /test/test2.
-
Relative path with a mask: This indicates additional, unspecified text in the URL. For example, /test*, */test, /test/test2*, or */test/test2.
NOTE!
For redirecting from particular obituary, you should use Relative Path only: /obituaries/John-Doe?obId=123456
-
-
'To' field input options:
-
Absolute path: For example, https://test.secure.tributecenteronline.com/test or http://test.secure.tributecenteronline.com/test. Note that you can use external sites links here.
-
Relative path: For example, /test or /test/test2.
-
IMPORTANT!
A relative path should always start from / or */ (if using the mask)
Pay attention when using redirects as excessive redirects can significantly slow down the loading speed of a website.