Configure your Tribute Pay merchant account.
Once your Tribute Pay enrollment is complete, the next step is to configure your Tribute Pay account(s) in TMS. This setup ensures payments are recorded correctly, fees are tracked, and the account is available for the appropriate locations.
Tribute Pay accounts can be managed under the Tribute Pay tab of the admin settings area. To navigate to admin settings, simply click your name in the upper right corner and click the admin option. Click the Tribute Pay option on the left side, then choose Payments. You will be presented with a list of your merchant accounts. Click Edit from the right to enter the configuration.
Select the Financial Configuration
Select the Chart of Accounts that you'd like associated with the Tribute Pay account from the drop down list, then click save. Review and select "yes" on the confirmation message.

Assign Payment Type
- Choose a name for this payment type This is what will show in the payment type drop down when making a payment on the case. (Ex. Tribute Pay, Electronic Payment)
- Select the GL to associate payments form the merchant account with. If you are using an accounting integration, this should be an account that is assigned as a bank account.
- Click Add Payment Type.
Assign Transaction Fees
- Choose a name for the transaction fees to log to your accounting as.
- Select the GL to associate processing fees from your transactions with.
- If you are using an accounting integration, this should be an account that is assigned as an expense account.
Assign Transaction Surcharge (if applicable)
- Choose a name for surcharges to log to your accounting as.
- Select the GL to associate surcharges from your transactions with.
Assign Location(s)
- Select a location from the drop-down to assign to this Tribute Pay account.
- Click Add Location.
- Repeat for any additional locations.
Save & Close
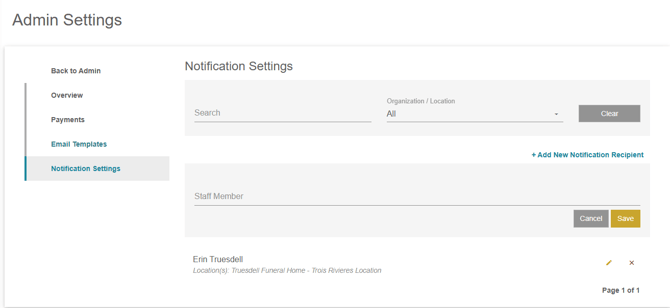
Set up Notifications for Tribute Pay Transactions
If you’d like to set up users to receive notifications when Tribute Pay transactions are processed, you can set those up under Admin > Tribute Pay > Notifications Settings.
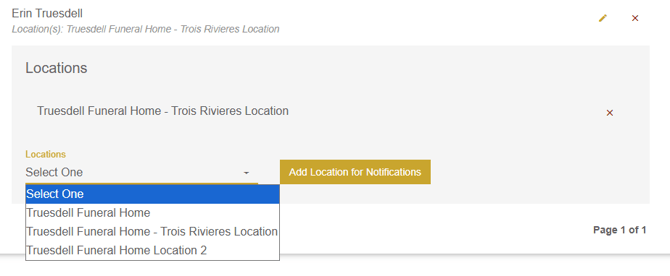
Click Add New Notification Recipient. Choose the staff member from the list, then click save. Click the pencil icon beside the staff member's name, choose the location to receive notifications for then click Add Location for Notifications. Repeat for any additional locations they want to receive notifications for.