
This guide will walk you through how to create an obituary. You’ll see side-by-side comparisons of TCO and the new experience to help you easily find what you’re used to.
| TCO | New System |
|

|
| In TCO, the Add new obituary button was located above the search bar | In Universal Admin, you can find the Add new button in the top right corner on Obituaries page |
Basic Info
| TCO | New System |
 |
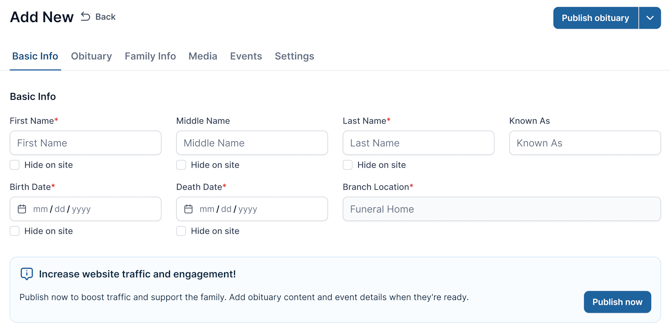 |
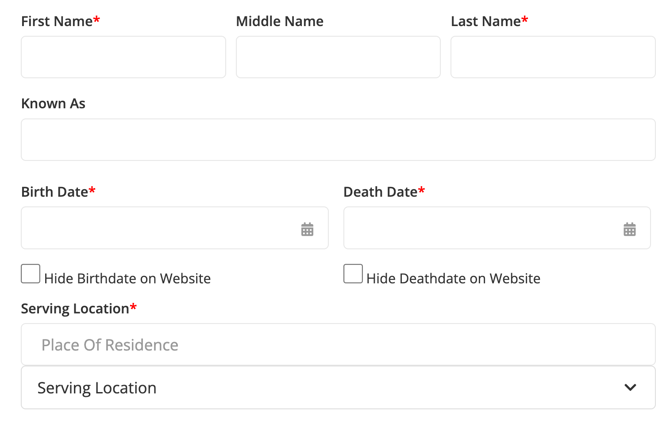
Just like in TCO, the first section you’ll see is Basic Info.
-
Serving Location in TCO is now called Branch Location in the new system.
To get started, fill in the required fields:
- First Name and Last Name
- Birth Date and Death Date
- Branch Location
Add Obituary
| TCO | New System |
 |
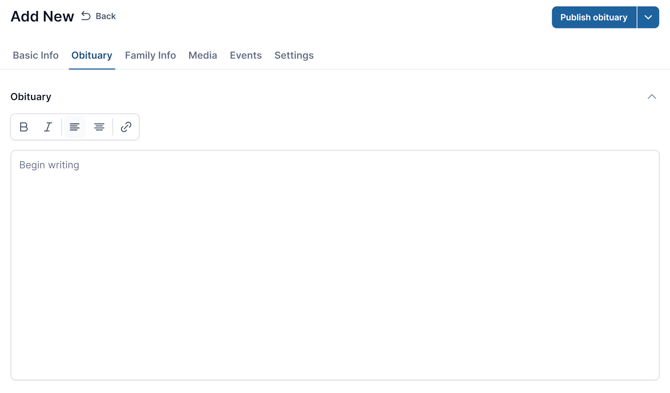 |
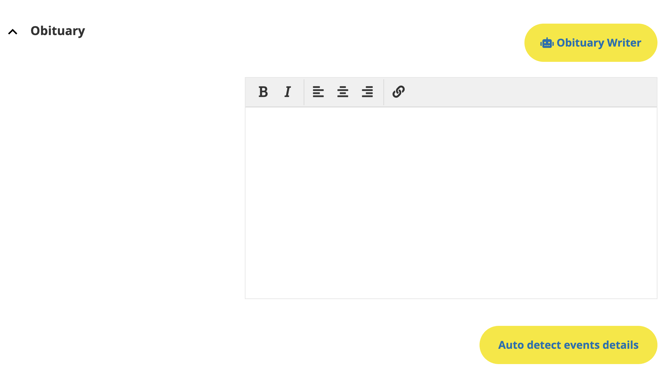
To add the obituary text, you have two options:
- Click the Obituary tab in the header
- Or open the Obituary accordion below the Basic Info section
Add Family Info
| TCO | New System |
 |
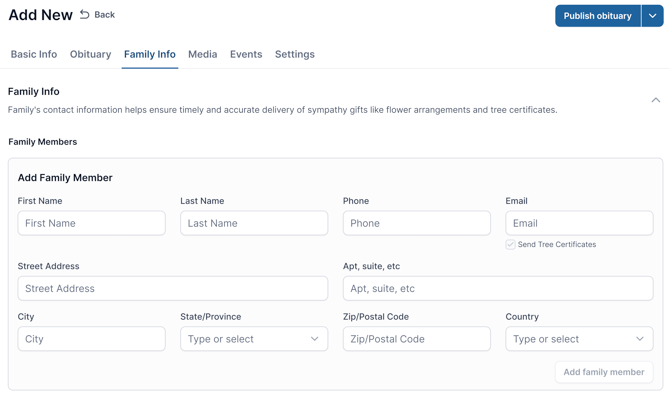 |
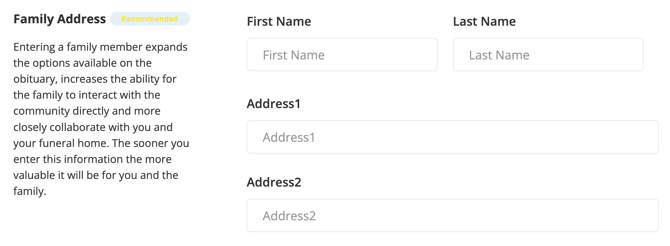
Family Address in TCO is now called Family Info in the new system.
To add families, you have two options:
- Click the Family Info tab in the header
- Or open the Family Info accordion below the Obituary section
Add Obituary Image
| TCO | New System |
 |
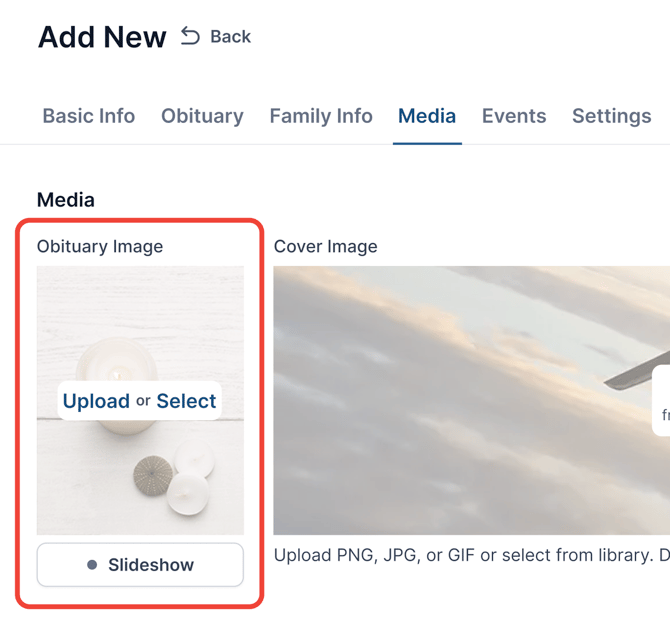 |
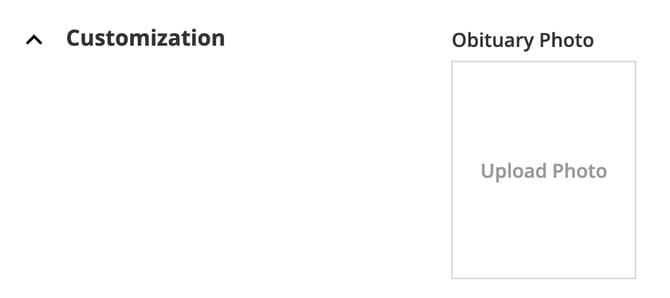
Obituary Photo in TCO is now called Obituary Image in the new system.
- Click the Media tab in the header
- Or open the Media accordion below the Family Info section
- Click Upload to add images from your device
- Click Select to choose an image from the Image Library
Add Cover Image
| TCO | New System |
 |
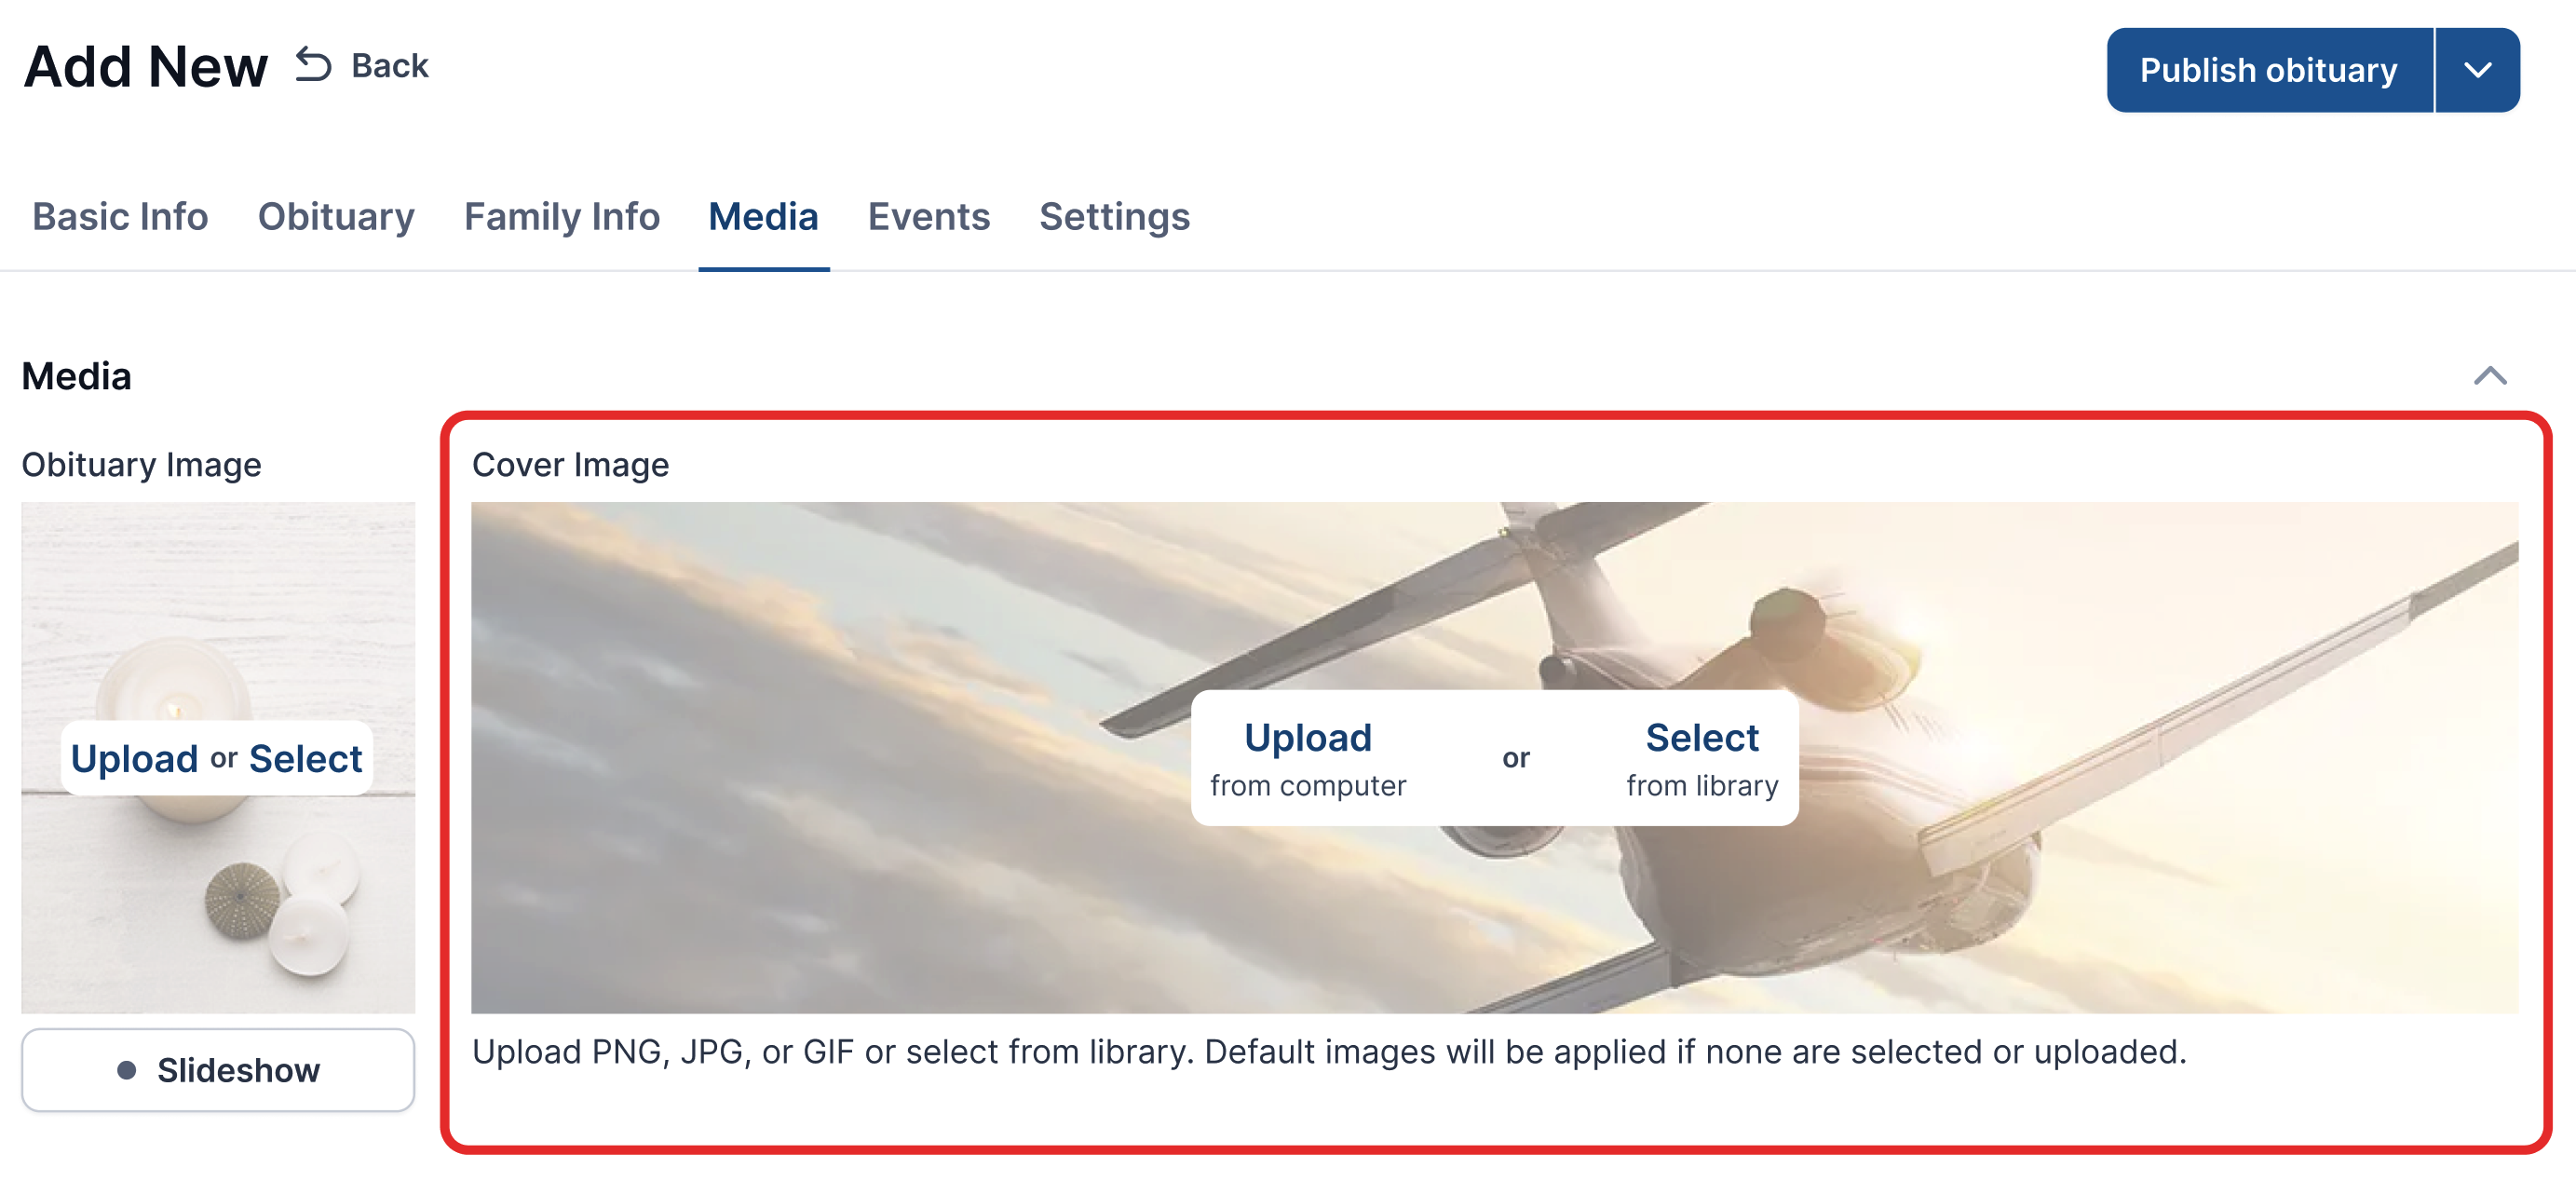 |
Cover Theme in TCO is now called Cover Image in the new system.
- Click the Media tab in the header
- Or open the Media accordion below the Family Info section
To add a cover image, you have two options:
- Click Upload to add an image from your device
- Click Select to choose an image from the Image Library